As you might have noticed, John has been playing in Photoshop with the first picture of each of his posts. He and I always try to work on that one a little extra, since that's the one showing in the blogroll and has to lure readers to our site..you all should give that a try as well. It's fun.
Here's one he did recently, using lensflare
That got me inspired...so here's one that I cooked up, using an older post image to play with. Here's the normal one that I posted ages ago...
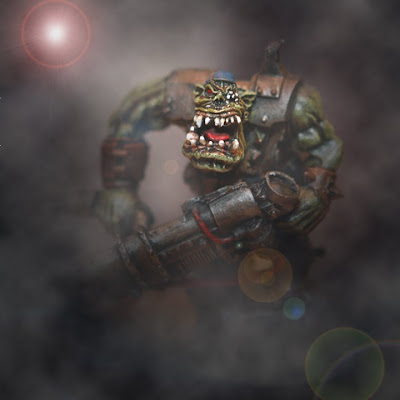
and here's the one I did this morning, took me about 2 minutes
How to get there?
1. Open up Photoshop and drop in your image
2. go to filter
3. go to render
4. choose lighting effects
5. play around until you have something you like
6 then in the same menu, choose lense flare and drop it somewhere cool
7. now duplicate your layer
8. go to filter-render-clouds
9. make sure your fore-and background color are white and black
10. slide the opacity on your 2nd layer to 50 percent or so, however you like it, make it look misty.
11. on the 2nd layer, use the eraser and poke out some details you want to have stick out of the mist.
And there is the guy you never want to see coming out of the fog...
Easy does it. Maybe John will do a post on how he made this zombie reneguard.
Cheers
Mike


Hmm...may try that...
ReplyDeleteI have taken note of these recent images,quite nice.
I'm going to have to give that a go. My wife is a graphic designer, so she's got tonnes of funky filters on her PS.
ReplyDeleteTime for a play ;-)
I have always wanted to have a go with a photoshop product,
ReplyDeleteJohn
Thats very useful, thanks alot!
ReplyDeleteMike, im digging up this article for the Old Stuff day. Im also linking back to it for a photshop article im doing.
ReplyDeleteGreat post and I remember this is the one that got me to put you in favorites, thanks!